Note: This is only necessary if you are onboarding and unable to share Meta Business Manager access with VisitorReach. If you do not know if you fall under this category, please contact your Onboarding Specialist for clarification.
Step 1: Download Existing Page Assets
Before creating the new page, download the cover photo and profile photo from your current Facebook Page. You will upload these to the new page to maintain brand consistency.
Step 2: Access Meta Business Settings
- Open a new browser tab.
- Go to business.facebook.com.
- From the left-hand navigation menu, scroll to the bottom and click Settings. It looks like a gear.
- Under Accounts on the left-hand menu, select Pages.
Step 3: Create a New Facebook Page
- In the top-right corner, click Add.
- Select Create a New Facebook Page.
- Enter your organization or church name.
- Choose the appropriate category for your page.
- Add a short bio (maximum 100 characters at this stage). You may copy and paste a shortened version of your existing page bio.
- Click Agree and then Create Page.
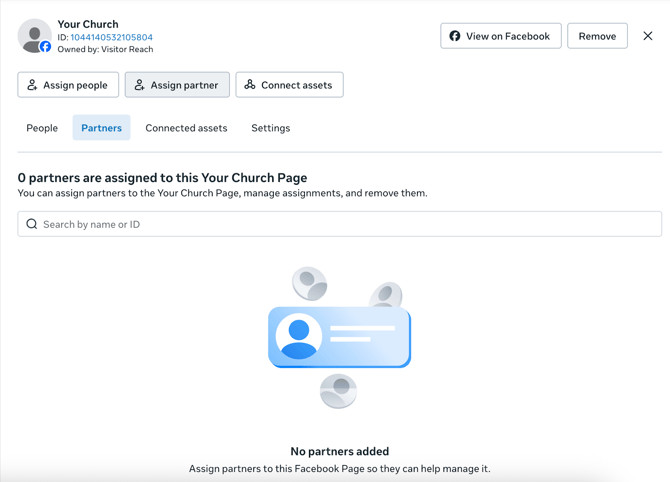
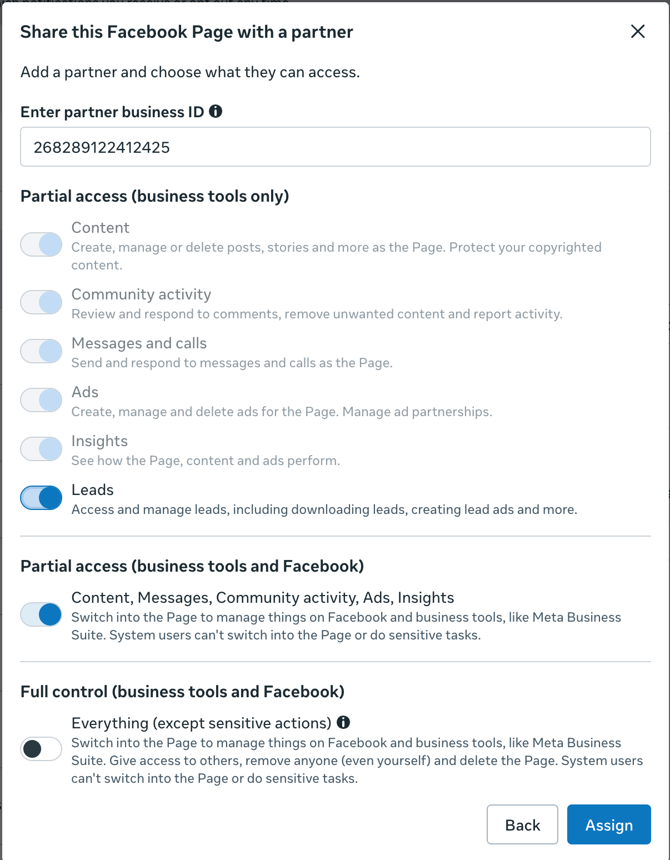
Step 4: Add VisitorReach to New Page
- Underneath your church’s name on this menu, select Assign partner.
- Paste the VisitorReach Business ID: 268289122412425
- Assign Partial Access (enable all available toggles except for Full Control).
Step 5: Personalize the New Page
Once the page has been created:
- Switch to your new Facebook Page.
- Upload your previously saved cover photo and profile photo.
- Navigate to the About section.
- Copy and paste the information from your original page, including:
- Full bio
- Address
- Website links
- Contact information
- Any additional relevant details
This ensures that anyone who visits the page from your ads has access to complete and accurate information.
Once access is granted, our team will be able to connect and launch ads from this new page.
Additional Notes
- Ensure all branding elements match your original page to maintain consistency.
- Verify that page roles and permissions are correctly assigned.
- Double-check contact information before launching ads.
For additional support, contact your Meta Business Manager administrator or your Onboarding Specialist.